![]()
![]()

![]()
Sound, lighting, backdrops, tripods… my gosh it’s a lot! Self-tapes were already on the rise, but now, they are the norm! Recent events have accelerated this trend, so it’s key to be prepared for all self-tape audition opportunities that come your way.
For detailed tips on working the frames, make sure you’ve checked out my comprehensive self-tape blog called The Art of Self-Tape. After you’ve become familiar with my artistic tips for self-taping, the equipment tips below will help elevate the technical aspects of your process.
You have filming options!
You might be used to self-taping on your phone, but also consider that Zoom can be useful for taping because it allows you to integrate a remote reader smoothly. Ask a friend to jump on Zoom with you!
Tip: Did you know we have a “Find a Reader” network in our Acting Collective? Members help each other out at short notice all the time. Another option is to check out the platform WeAudition to find a reader instantly (free or for hire). You can rehearse or film together using WeAudition’s taping feature, then export files to quickly submit. Or, you can utilize the reader and set up your own camera to film.
OPTION 1: USE A CAMERA
Set up your camera or smartphone as well as your lights, sound, and background. Tape with a reader at home. Your reader can be local (in the room) or remote (via a computer or cell phone video or audio). In both circumstances, the reader is positioned next to the camera, as close as possible.
OPTION 2: USE ZOOM
Set up your computer, smartphone, or tablet at eye level for filming. Whoever is the host on Zoom can record. This is how I run class—I film people remotely on Zoom. You can use the other elements of your set-up as well: lights, sound, backdrop, etc. For more tips on how to use Zoom for auditions, go to my blog post How to Self-Tape Auditions on Zoom!
P.S. If you’re looking for a way to get rid of the black bars on either side of the video when you film via Zoom on an iPhone or iPad, check out this article about how to crop your video. But, please know that it’s completely acceptable and professional to leave the black bars.
Below are some equipment recommendations that actors have given me. Let it be a starting point for your research! Always check that any prospective equipment is compatible with your existing technology. Do you use an iPhone? An Android? A Mac or a Windows PC? Read the product specs and make sure you consider whether it comes with the necessary accessories (e.g., input cords, adapter plugs, stands, etc.) or if you’ll have to get them separately. If an item is no longer available via our link, you could Google the name and see if it’s available elsewhere. (Heads up: some of the links below are affiliate links, meaning the studio gets a small commission when you purchase at no extra cost to you. Thanks!)
Please check the specs of the device that you’re connecting a mic to so that you can select the ideal mic. For example, what is the required input connector for your computer, phone, or camera? Adapter cords are often an option to make an item work.
Also, if you typically film your self-tapes on a camera or your phone, but then you do auditions via Zoom/Eco-Cast on your computer, keep that in mind when selecting your mic connector. Select the one that you are prioritizing to start.
Special note: if you are experiencing any static or interference noise with any mic connected to a phone, test it in airplane mode.
LAV MICS
MOUNTED MICS
USB MICS
ACCESSORIES
Always an important element! We need to see your EYES!
Tip to avoid shadows: Place two lights at 45-degree angles in front of you, then make sure you’re standing 2-3 feet in front of the backdrop.
I recommend a neutral color backdrop—like gray—that will suit all genres. Blue can work fine for comedy, commercials, or projects with a brighter tone/mood. Evaluate your setup and see if you need a backdrop stand as well (scroll down for those). Avoid green because that is associated with green-screen acting.
If you select a hanging fabric backdrop, set it as far behind you as possible to reduce both shadows and to blur the appearance of wrinkles.
Heads up! Sellers will change their color options from time to time, or items may sell out/come back in stock, so take a close look at the details if you decide to buy!
^This Kate brand has several color options that change from time to time. I generally like grey or grey blues (not bright greens and blues). Any pastels like the beige or pink are typically nice too.
Need a video tutorial on how to put those darn things back in the bag? Alumnus Chris Russell has you covered!
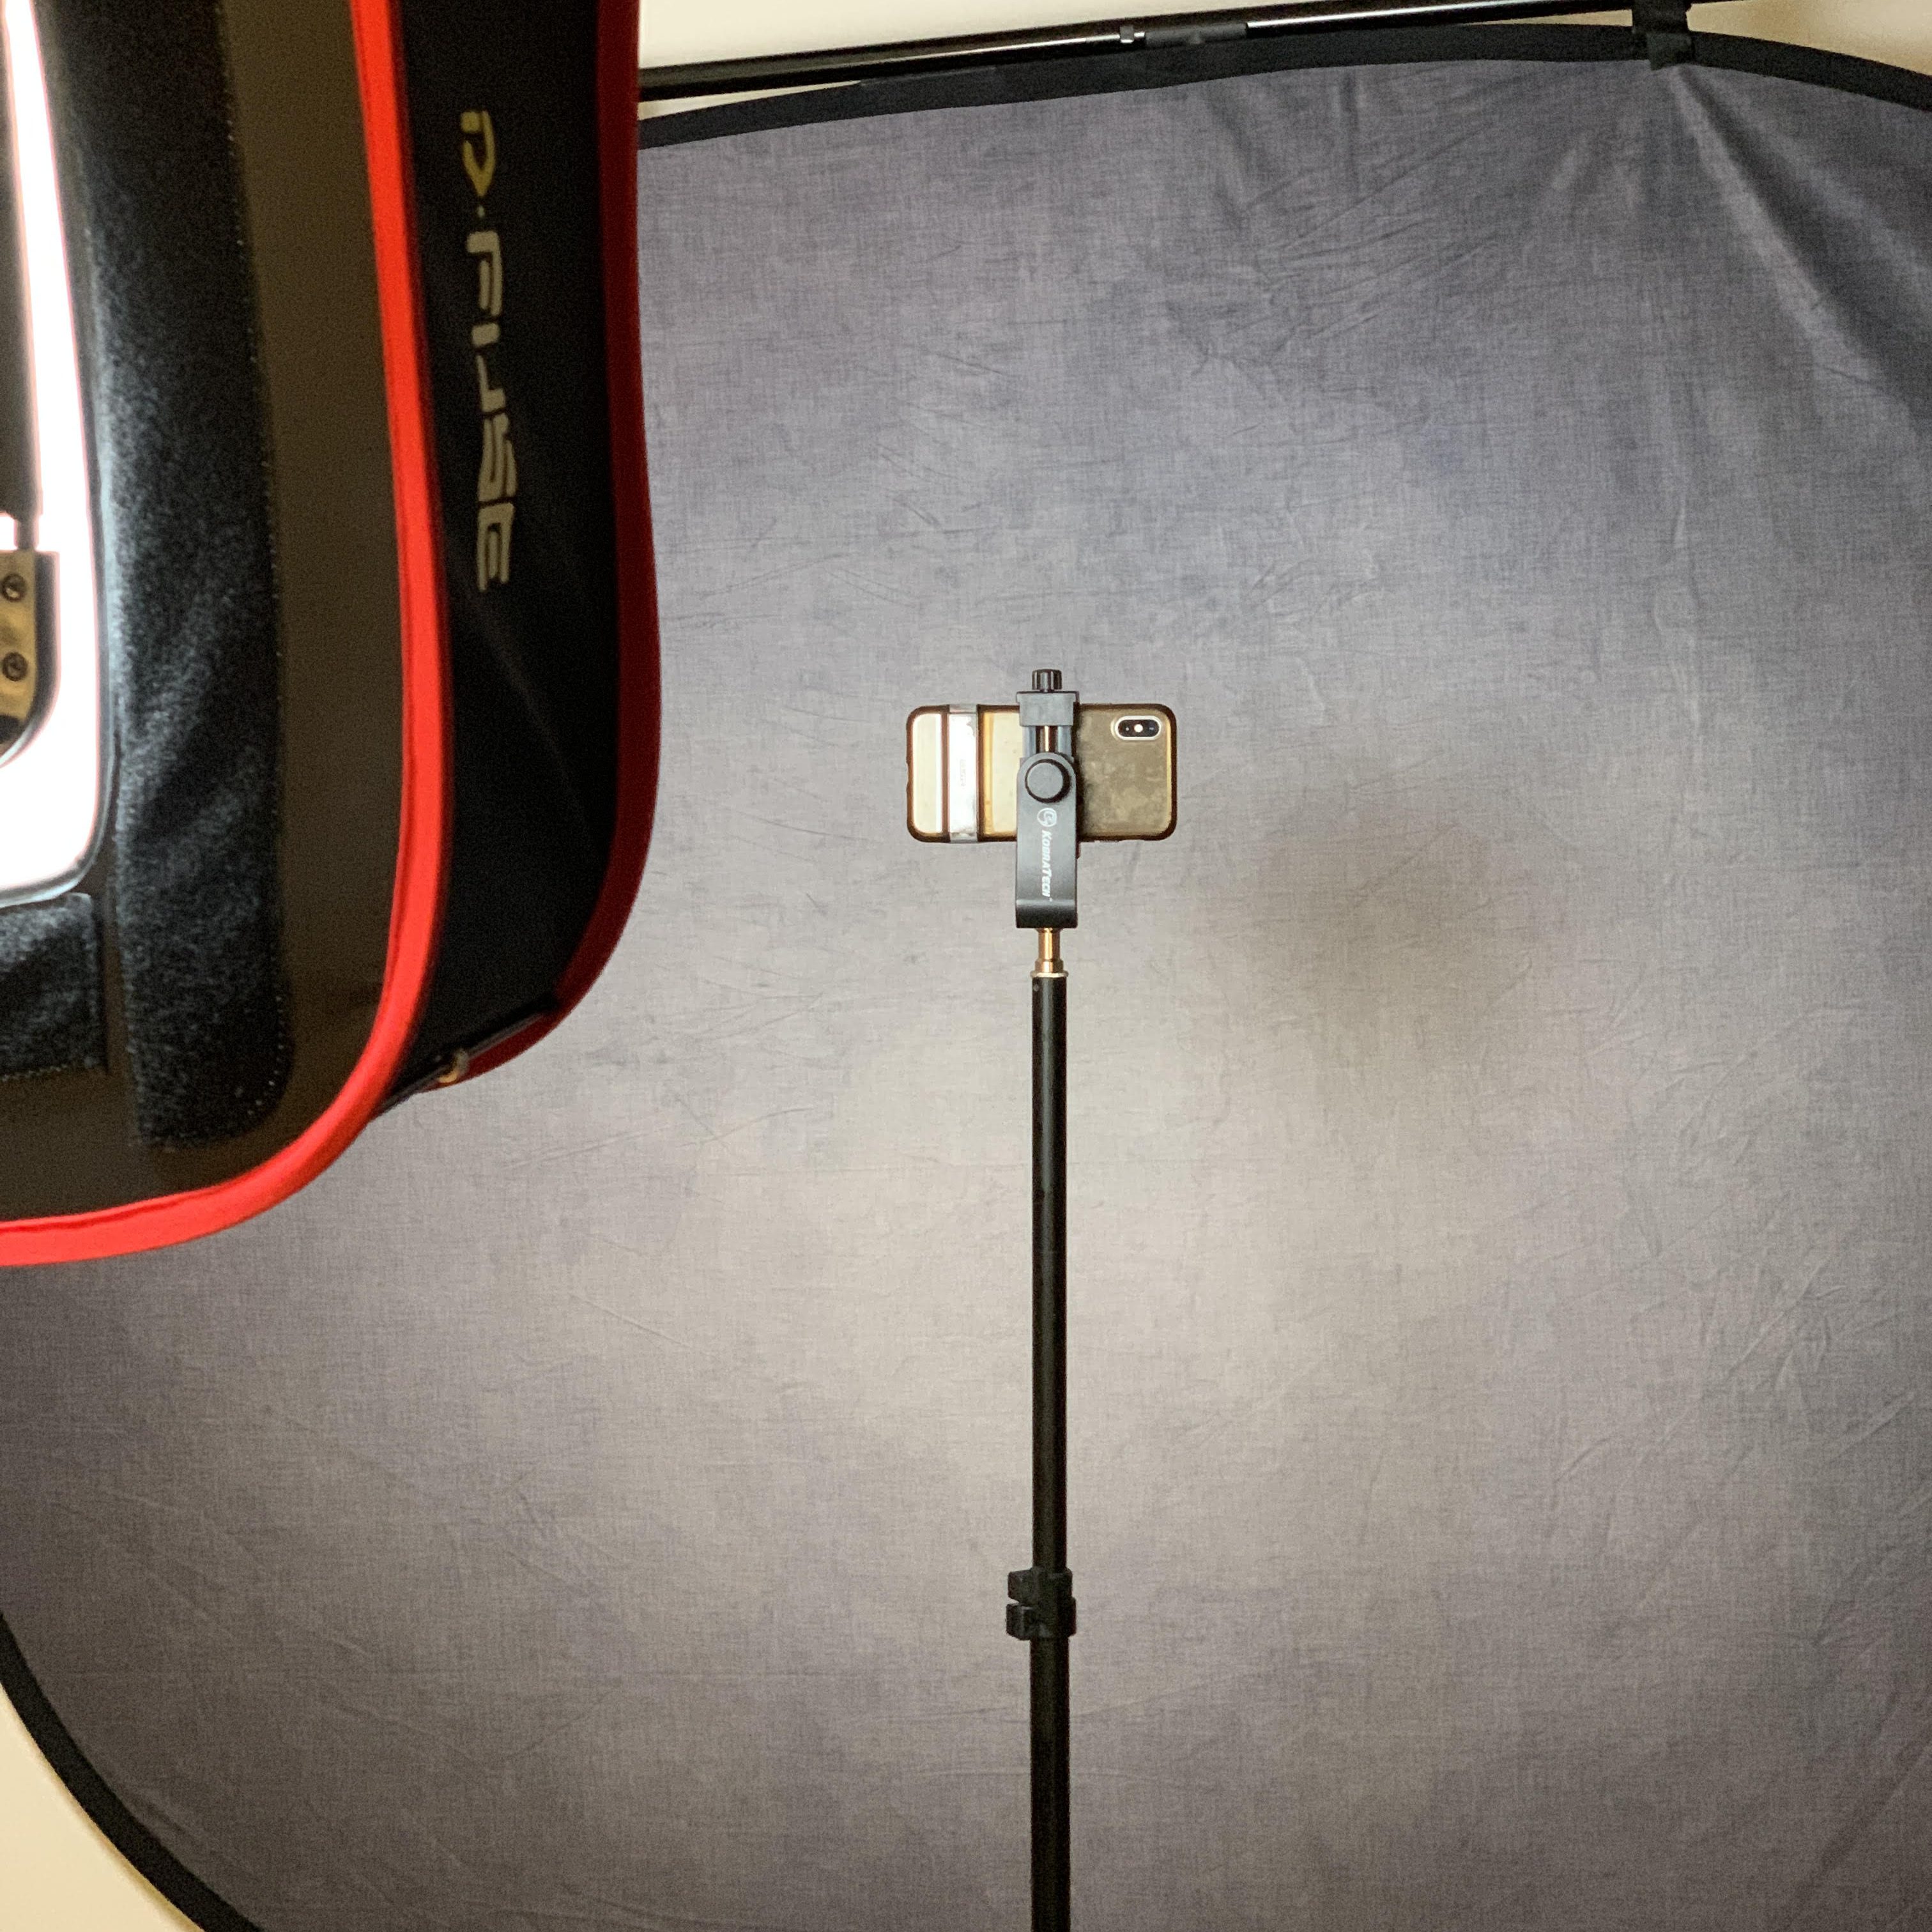
Remember that your goal is to get the camera at your eye level.
You may need a mount on top of your tripod as well:
These are great as “tripods” for laptops! In addition to these, also consider looking at standing desks, laptop risers, piles of books, boxes, etc. to raise your computer if you’re using it.
Are you wanting to see the casting director or reader in a larger image than your cell phone? Tired of squinting? Then you can still use a laptop and get great amazing quality if you attach a webcam! All computer cameras are 720p. So a webcam will be a great boost.
Plus, some webcam models can be attached to a tripod, standing or tabletop. This gives you a little more freedom to position it in line with where the reader is on your screen (or even to move it away from your light sources if your eyes are sensitive to the brightness).
Please note that I still stand by the idea that if you have strong lights, then the image will be crisper. Always start there.
EXTERNAL CAMERA CAPTURE CARD
You can connect your DSLR, camcorder, or action cam to your computer. If you have a nice camera and want to use it over Zoom in place of your built-in laptop camera, try something like this.
PHONE CAMERA REMOTE
For auditions over Zoom or Eco-Cast Live, strong internet connection is key. No one wants glitchy freezes or slowdowns in their audition. So, if you prefer using your phone for live auditions, you can get around poor wi-fi connection by plugging your phone directly into your router.
WHERE TO FIND MORE RECOMMENDATIONS
Keep checking out blogs and articles from your favorite acting resources. Browse the web, look at related products, and read reviews. Remember, this is just a starting point!
I’m so glad you are exploring how you can improve your self-tape setup. In my classes, I work with actors not only on what their self-tape setup is, but also how to optimize the self-tape format in their acting choices. Check out my Upcoming Classes!